If you have a pup at home you know what a pain it can be to get them groomed regularly and keep them looking good in between. But, if you’re interested in learning how to use a dog clipper to keep this whole process easier you are in luck!
But where do you start? From the second you buy your first set of clippers you start imagining how they transform your dog from messy mop to cute fluff.
What you really need to learn is how to prepare to use your dog clippers. The preparation takes a lot more time. It can also be the difference between an easy grooming session and a very difficult one. To make grooming easier, check out some of the best dog clippers for matted and thick hair.
Step 1: Wash
Yes, you do need to wash your dog before clipping. We can attest from experience, clipping a dirty dog is a thousand times harder. Keeping your pup clean just isn’t always an option.
What do you need?
- Warm water
- Dog shampoo
- Brush
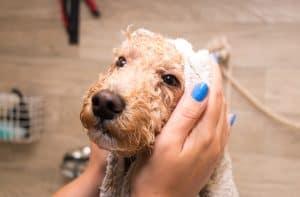
That is right! Unfortunately, you can’t start out by taking a ton of fur off. Washing with warm water, and a friendly dog shampoo will make the brushing much easier.
If your pup is not a fan of the bath, this may tire them out so by the time you get to the trimming they do not have very much energy left. However, if your dog is a water lover this can be some great bonding time for you!
Step 2: Brush
Whether your dog took the bath well or not, brushing can be another great opportunity for quality time. Brushing doesn’t just serve for relationship building though.
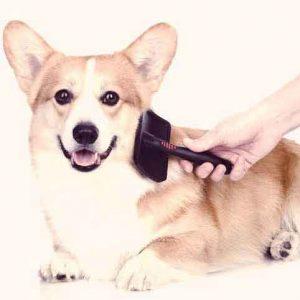
When you are brushing your pup after a bath you’ll clear out the tangles and hair clumps that would make grooming very difficult. Brush slowly and when you hit a snag use very light strokes to avoid pulling any hair.
As you brush take note of what way your dog’s hair or fur lays naturally. Just like you have a natural part so does your dog! You will quickly find that your pup has many different directions their hair goes in different areas. Keep note this will be important when clipping! Great, so you’ve washed and brushed your dog. Are you ready yet? Well, we are sorry to say, not quite yet.
Step 3: Prep for Grooming
Haven’t you done enough prep already? You have washed and brushed your dog. Why could you start clipping yet?! It can be frustrating.
Well once you get started you definitely won’t have time to stop and grab anything you might need. So, preparation can be the difference between an easy experience or never wanting to do this again.
You definitely don’t want to find that your dog does not really trust you and not have your brush to pull away from the loose hair nearby.
What do you need to prep?
If your pup is not used to being groomed or is easily startled by loud noises, you may want to leash them. This can prevent them charging off of a high surface. Either way, being close to your dog will be comforting to them, be prepared to cuddle.
- Towels
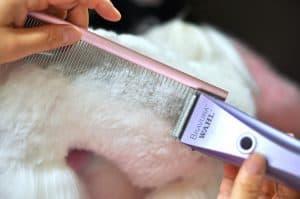
- Clean clippers
- Clean brush
- Leash (optional)
Step 4: Clip Away!
Plug in your clippers and flip the switch! Hopefully, you have found a pair that is not so loud or vibrates too heavily. Keep in mind what your dog probably should look like. Smaller breeds and larger breeds have very different styles that they wear best.
Furthermore, take into consideration what time of year you are entering. You don’t want to leave a very long coat on a thick-haired dog in the middle of a hot summer or freezing in the winter.
There is a lot to keep in mind, but when you are ready to get started the most important thing to not lose sight of is the direction of your pups hair or fur.
You have already noted the direction of the hair and this is where it becomes very important. Always shave in the direction of your dog’s natural hair direction.
If you go in the opposite direction you will have very distinct lines where the hair was cut. So start by going with the direction of the fur from the neck working towards the back leg.
When you are working downward take the time to clean out your clippers every few strokes. It may seem like going in the direction of your dog’s hair is taking longer but the results are worth it!
After you work through one side at a time you can focus more on regions where the hair is likely to change direction more often. Go slowly at first if you have a puppy or dog that is not used to being groomed.
When you are working and taking your time, be sure to turn your clippers off so the blades don’t get too hot. There are a few options to combat hot blades:
- Switching out your blades
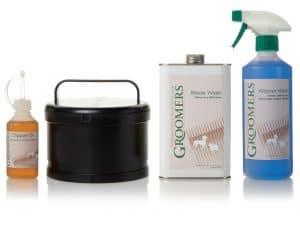
- Spray on coolant
- Rest your blades in a baking pan
We recommend you end your grooming session with either “end”. The face and under tail regions should be the last to receive any attention.
There are a few reasons why these areas come last. First, they are tired. Second, your hand has some more practice to it. Finally, you have acclimated to the weight and vibration of the clippers.
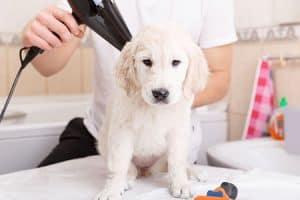
A Well-Groomed Pup
You now have learned how to use a dog clipper. The actual function itself is very easy but the process involved is difficult and requires a lot of preparation.
